| By 2003 it was clear that
we had done as much as we were going to be able to do with the bus
out in the open. Any further progress would have to be under
cover, so we decided to build nice warm wooden shed for the
bus. Once safely installed, the remaining paint could be
removed and the slow business of repaneling and repainting could
commence.
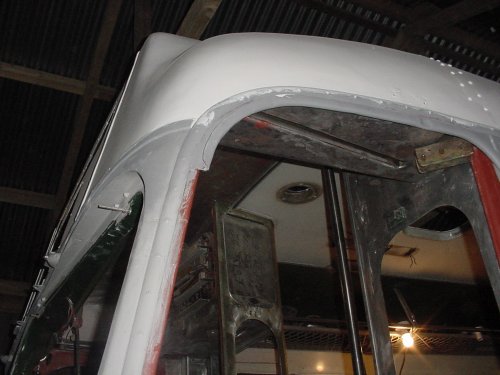
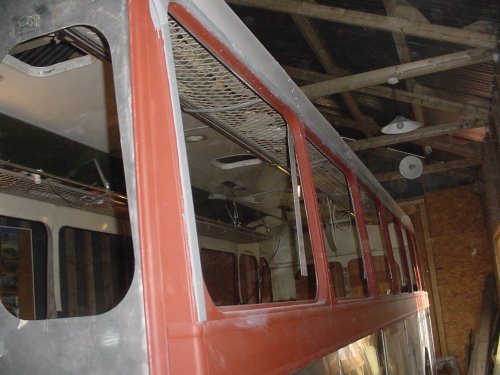
Below are various views showing new panels and various stages of primer and undercoat. |
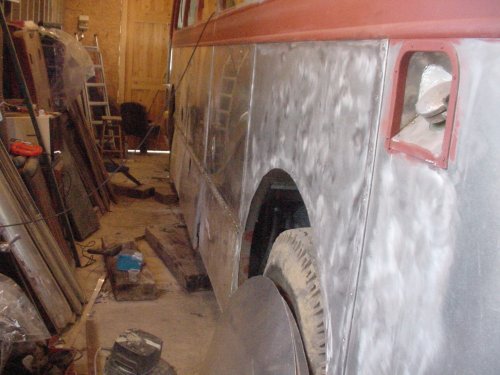 |
| Finnegan's "Special Metals" aluminium primer was used to prime the bare surfaces. Left for a few days after application it forms a very hard adhesive coat, quite difficult to rub down but providing an excellent surface for a filler coat. | 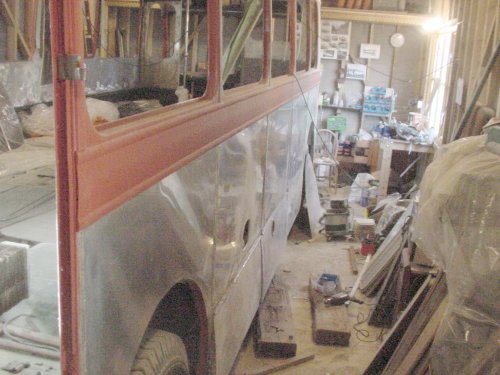 |
| All the paint is applied by brush and roller, including the grey filler, I used B&Q metal primer which seems identical to the Dulux product. It rubs down easily to a very good finish. | 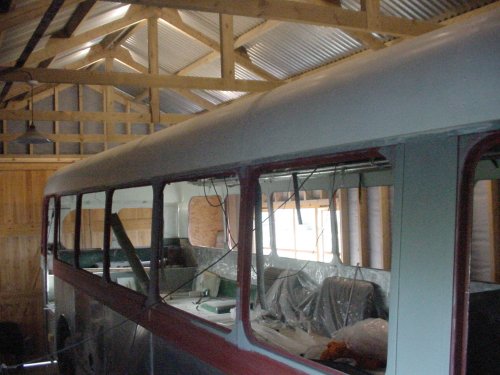 |
| The white undercoat visible here and in the next pictures is supplied by Williamson's of Ripon, as is the top coat (see next page). The paint is extremely high quality finish - anyone familiar with ordinary household paint would be amazed at the difference. | 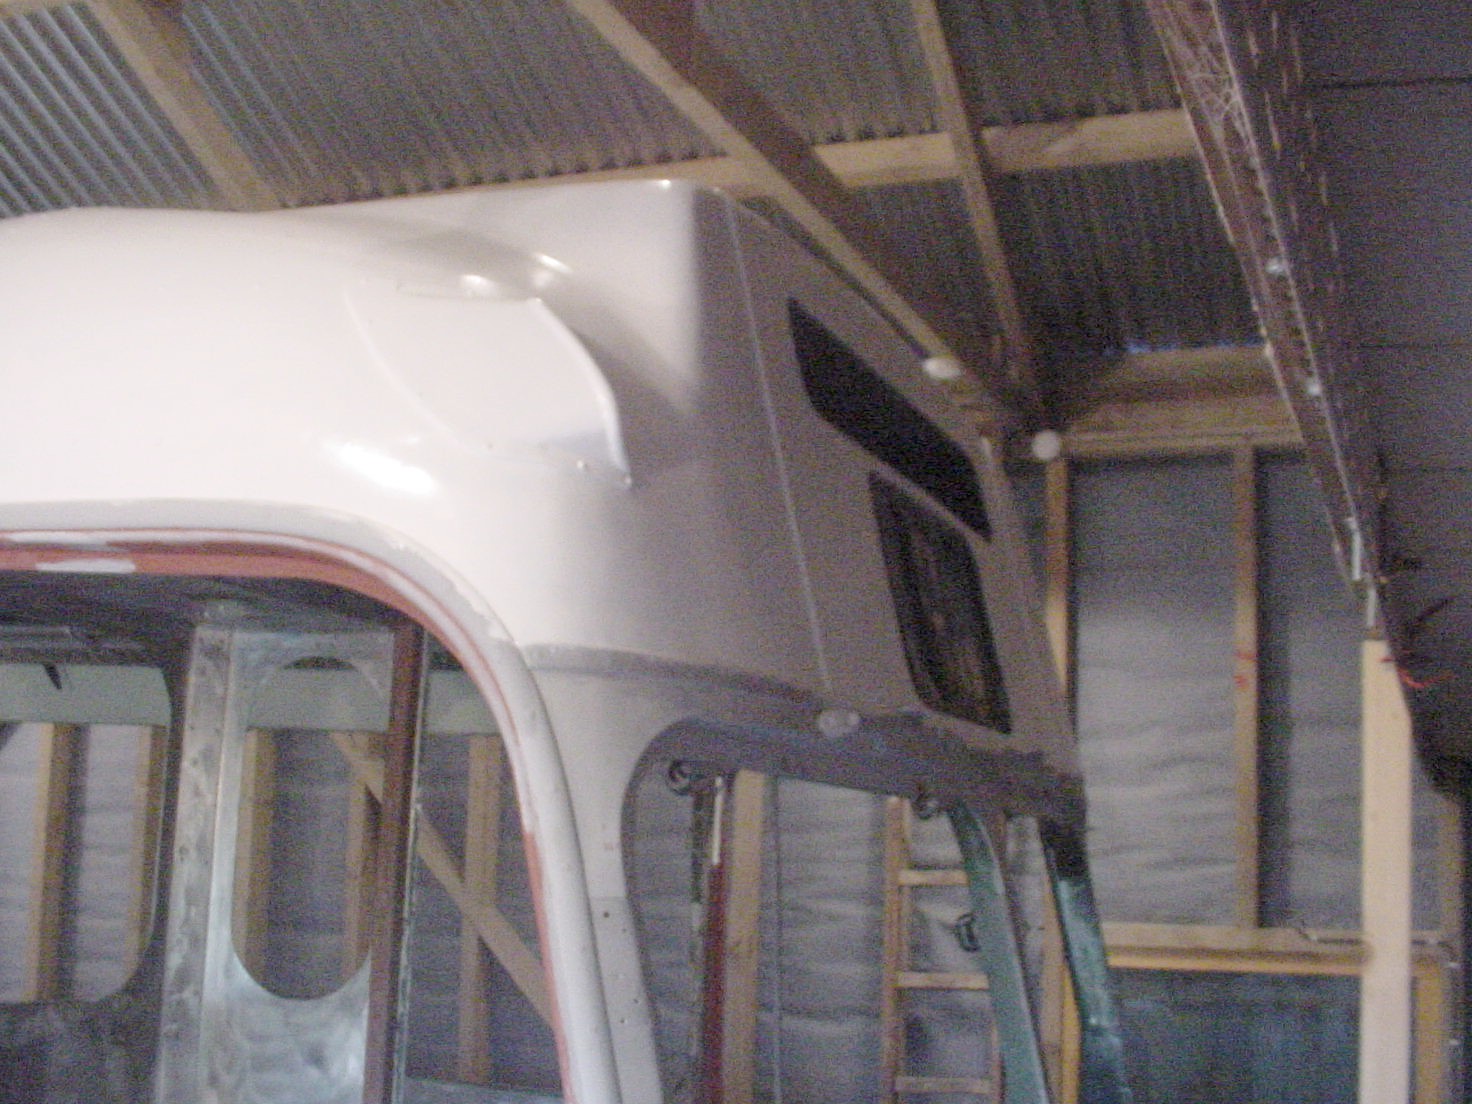 |
 |
|
| New panels are abraded with either a wire brush or 40-80 grit sandpaper before primer is applied. The alternative is to use a chemical etch primer which is expensive and unpleasant... | 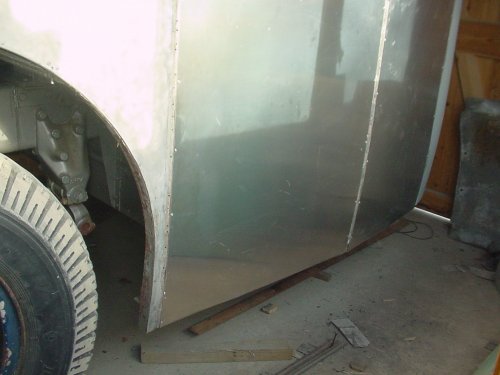 |
 |